ChatGPT to 3D Print: My First Fully Prompt Driven 3D Print
Since launch, GPT-6 Astra has been getting a lot of hype. I’m generally skeptical when the headlines start blowing up about a particular model, but some of the 3D examples piqued my interest.
I restarted my ChatGPT Plus account and opened up the terminal to start my first 3D print project using only prompts.
Designing a 3D-Printed Keyboard Platform with AI
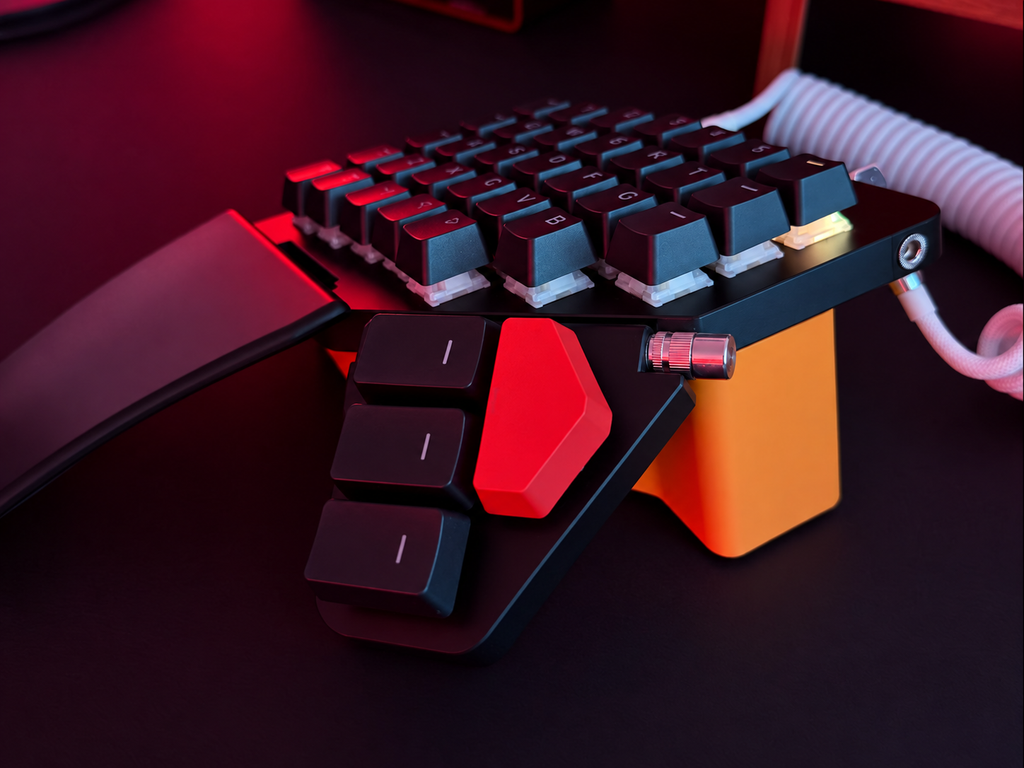
I opened up Codex and explained that I wanted to create a platform for my Moonlander keyboard. (I love this keyboard.)
I also gave it the crude drawing below and some specifications for the 3D printer I’m using.

We Don’t Have Dimensions for the Moonlander
Within 30 seconds, it became clear that we didn’t have the dimensions we needed for the Moonlander. There’s some technical information on ZSA’s website, but neither GPT-6 nor I could find a complete technical drawing. I almost grabbed my calipers and started measuring, but then I discovered that ZSA provides an STL. (Thanks, Erez!)
Let’s Make Our Own Technical Drawing
Using ChatGPT Work, I turned the STL file into a technical drawing to use in my Codex session.

I didn’t do any steering on this. One prompt and an STL file, and we got something usable.
Reviewing My First AI-Generated OpenSCAD Model
I brought the new technical drawing into my Codex session and sent it off to keep working. Five minutes later, I had a working OpenSCAD model.
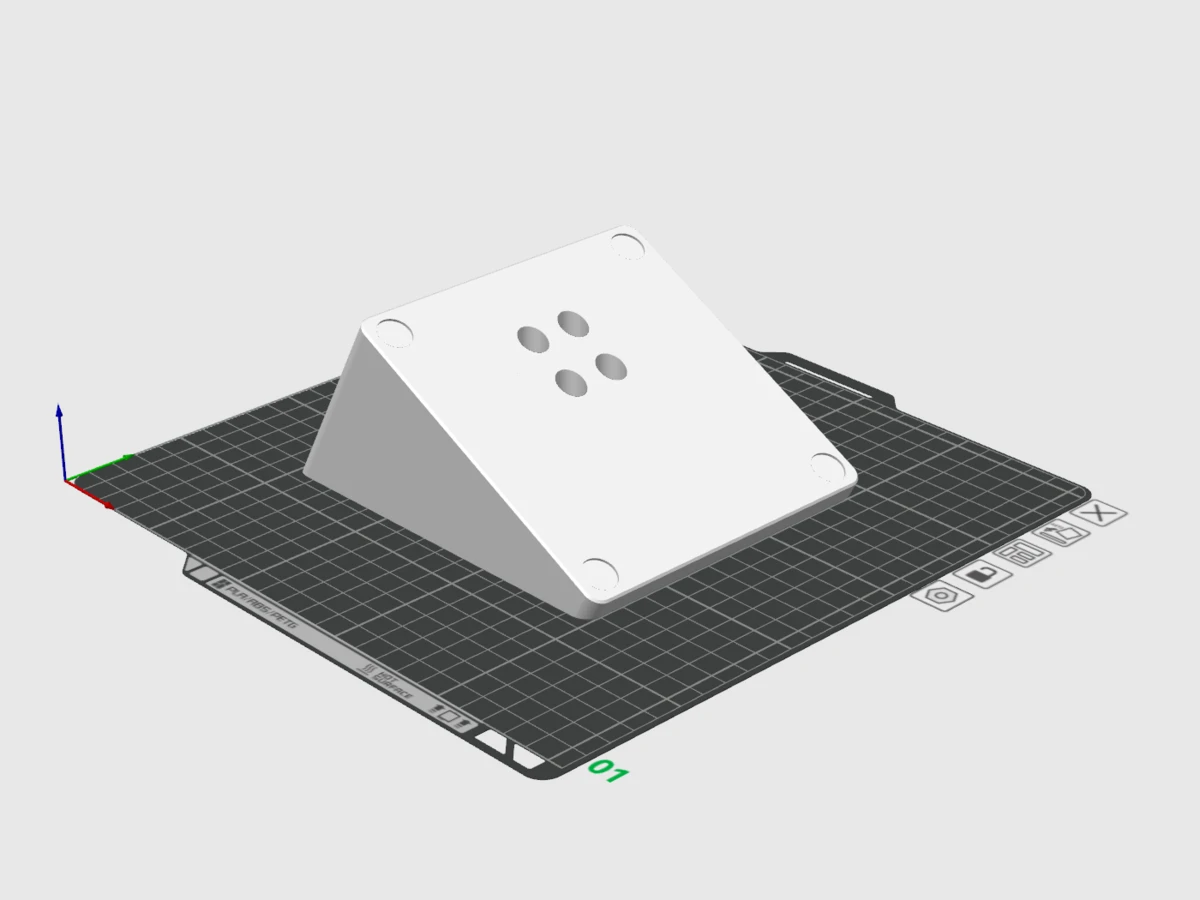
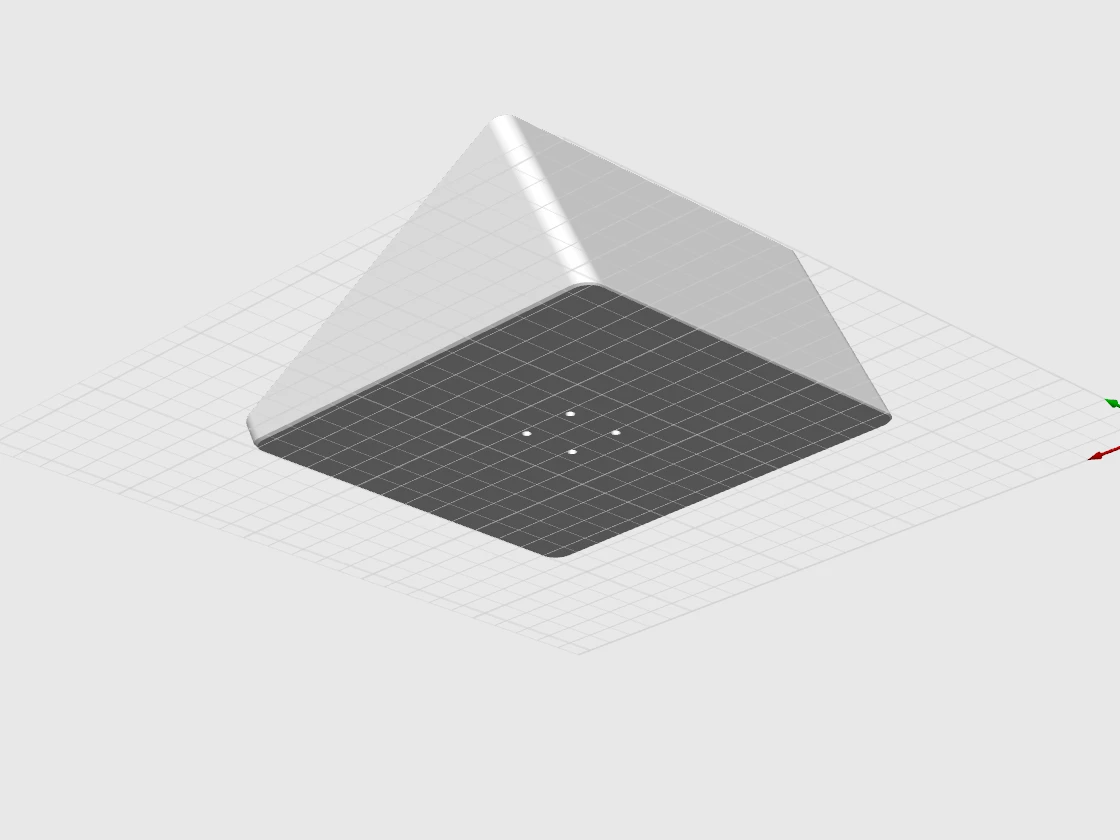
Everything looked correct! It even made me a test coupon, a small piece to check the hole spacing, which I hadn’t asked it to do.
I skipped the coupon and hit print. Life is an adventure, after all.
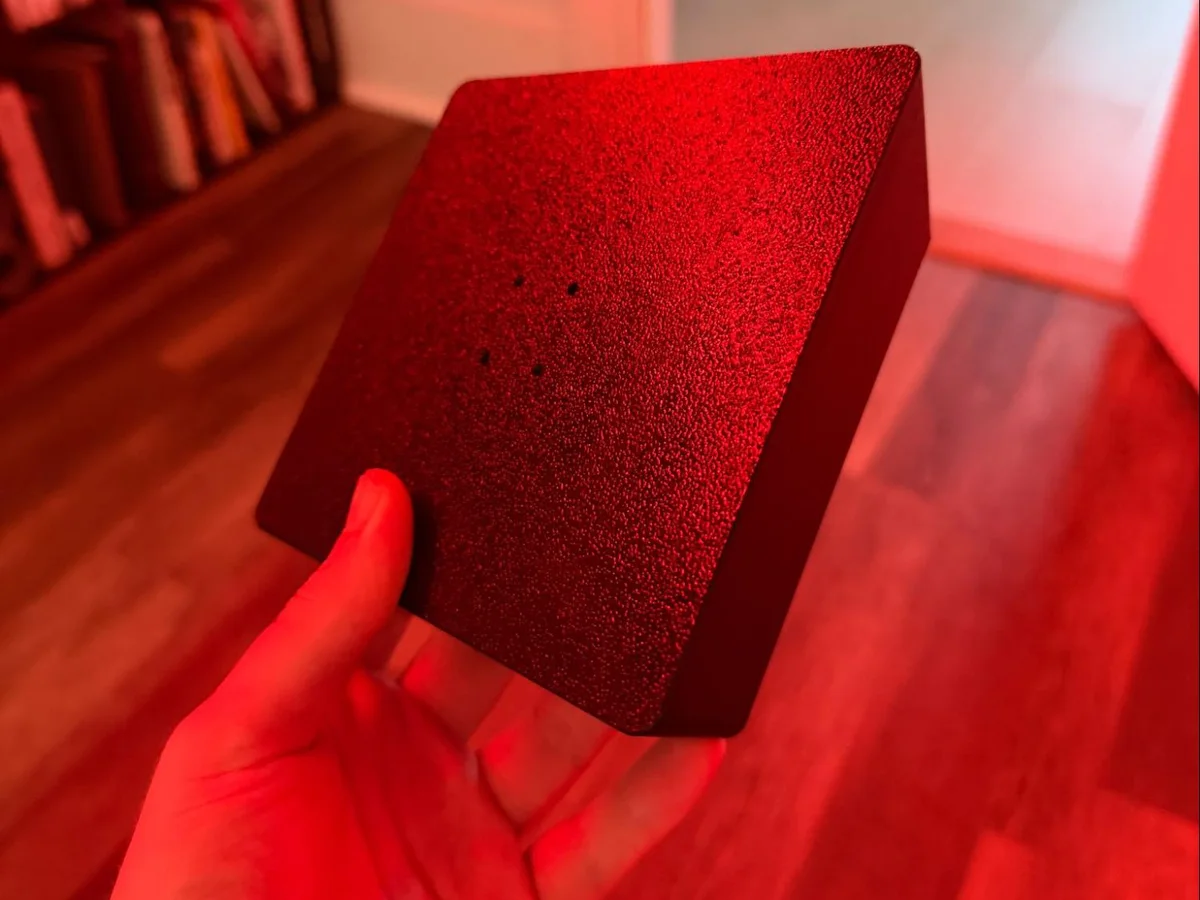
It printed perfectly. The holes lined up with the bottom of the Moonlander exactly as they should. But I’d missed a few key details…
I Forgot About the Thumb Cluster and Keyboard Feet
Now, I wouldn’t blame this blunder on GPT-6. After all, I gave it a drawing, and it gave me a model that matched it perfectly. I hadn’t accounted for all the design constraints in my sketch.
Back to the drawing (prompt?) board. We needed more detail in our technical document, so I went back to my original ChatGPT Work session and told it what we needed.
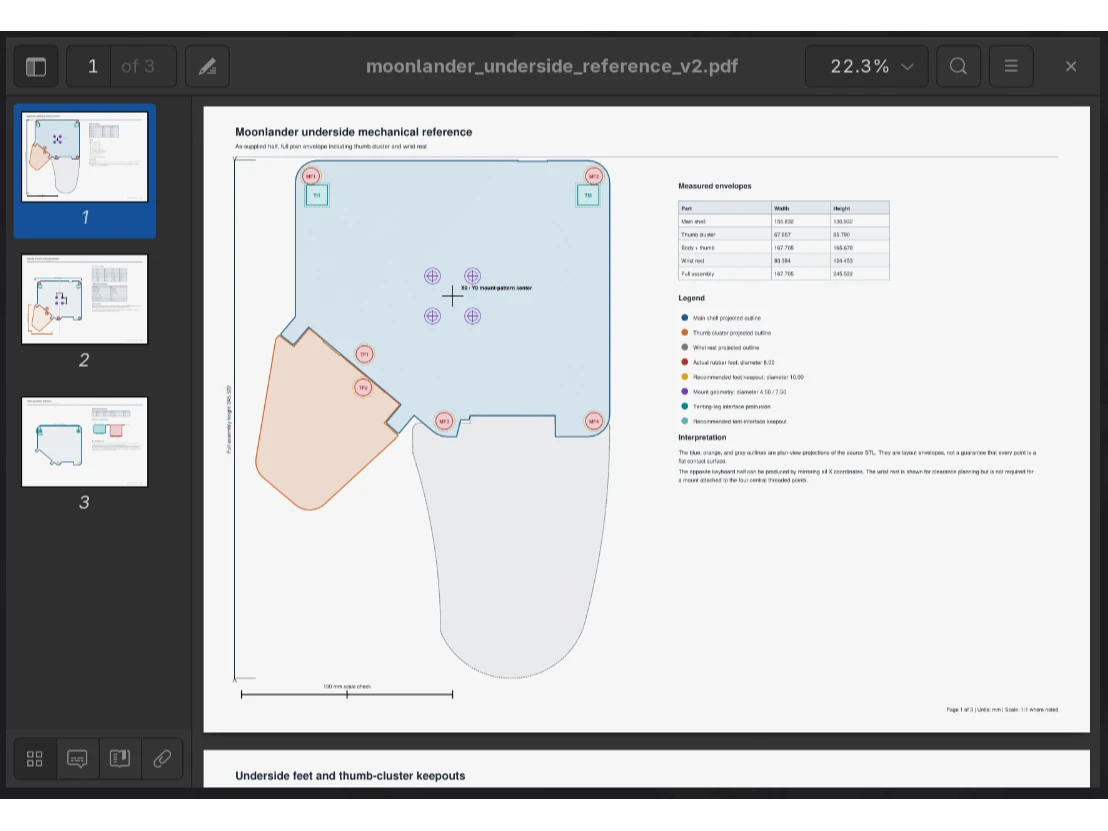
If I’m being honest, I expected this to be more difficult than it was. The only extra steering I gave it was to account for the tenting attachment points that stick out from the bottom of the Moonlander case. It had missed those in the first draft.
Adjusting the OpenSCAD File with Codex
I dropped the updated document into Codex and asked it to adjust the model accordingly. It borked the design. I gave it a little more steering: specific instructions and an annotated image showing where to slice the model vertically to clear the interfering parts.

My Final OpenSCAD Model for the Moonlander Platform
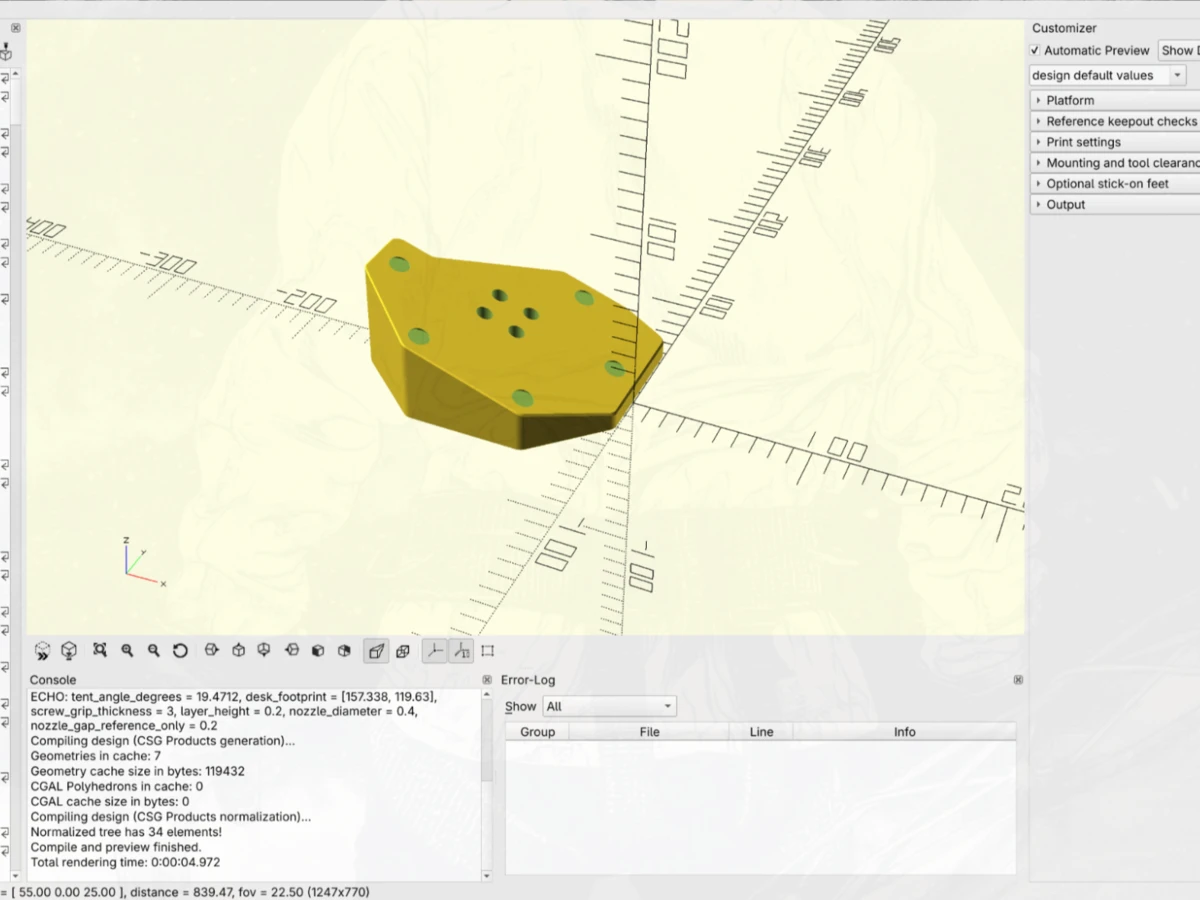
Third time’s a charm! I was quite happy with how this version turned out and confident enough to say YOLO again and hit print.
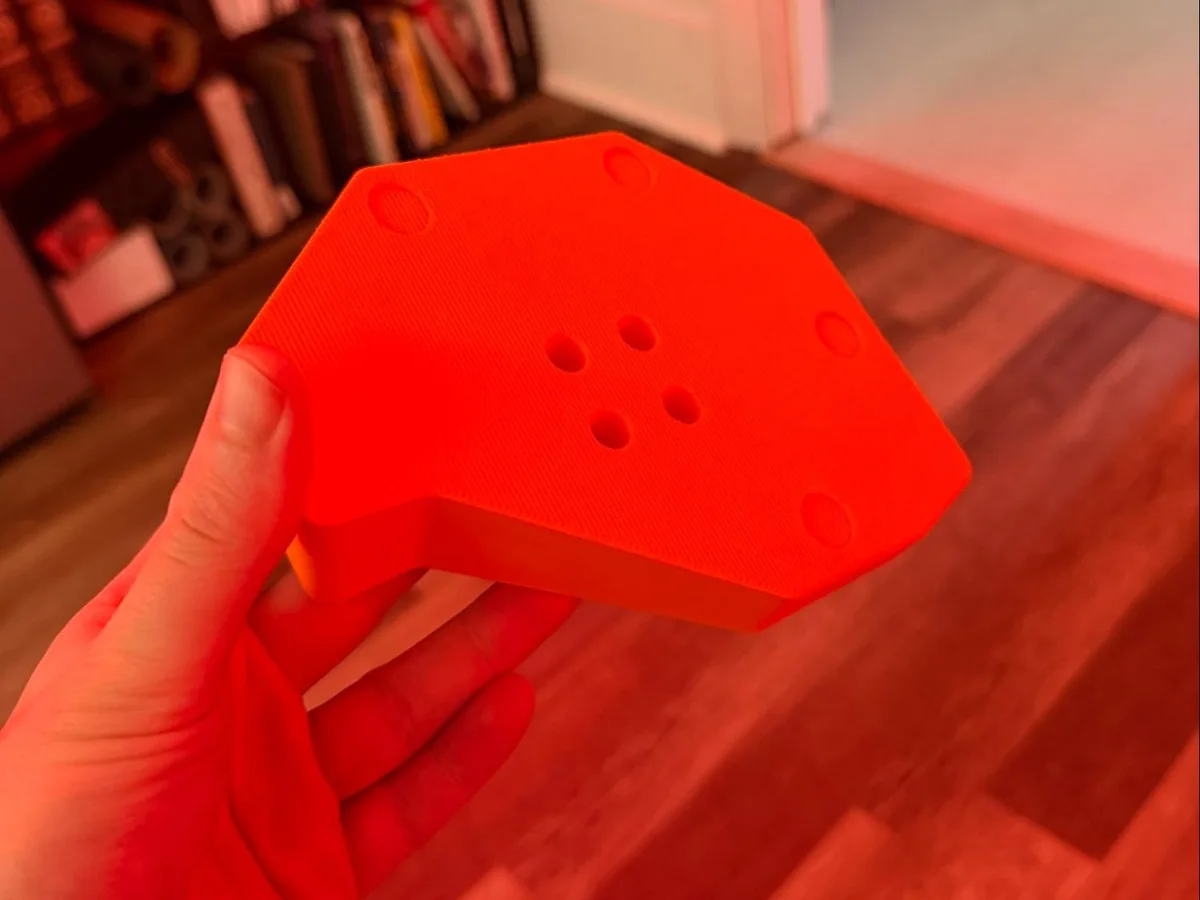
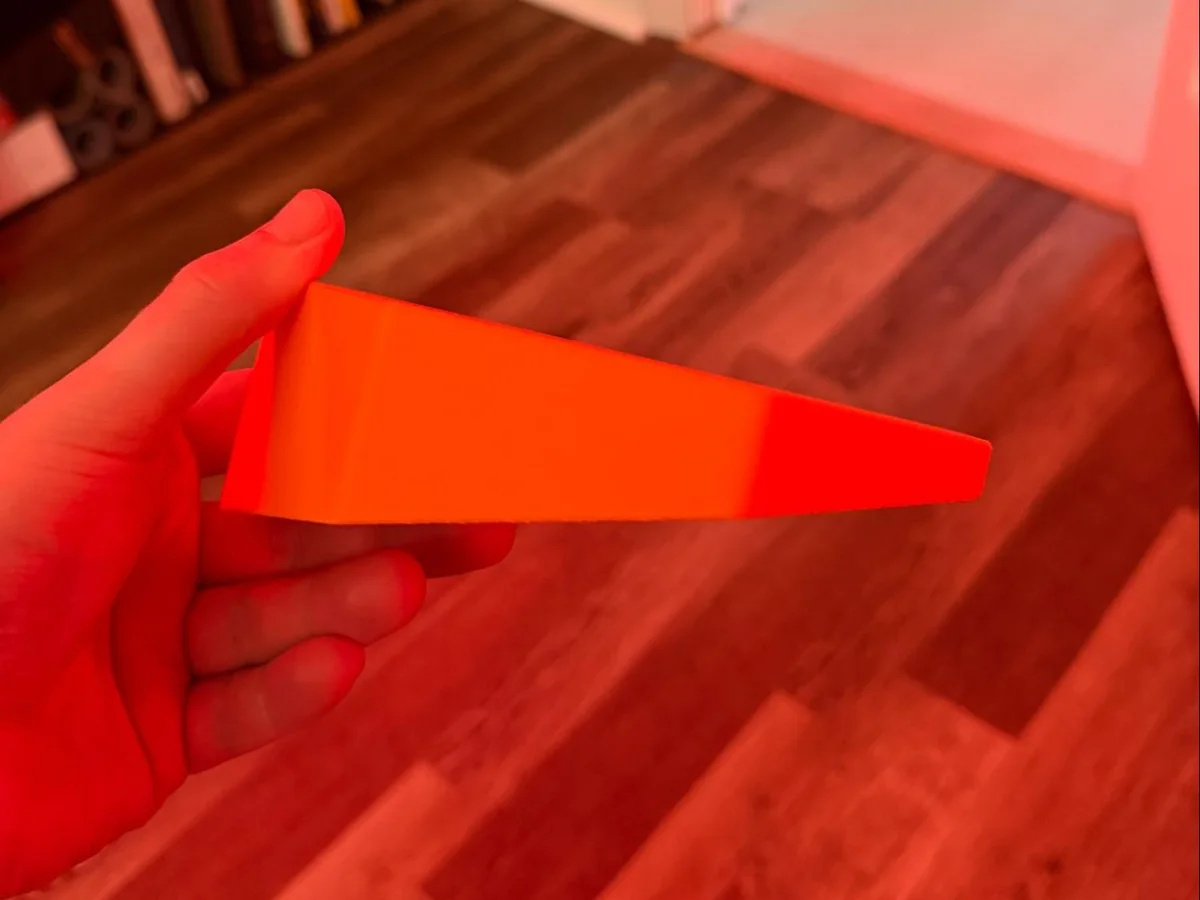
The print turned out quite well. I also printed a matching platform for the other half of the keyboard, and I’m currently testing this version on my Moonlander.
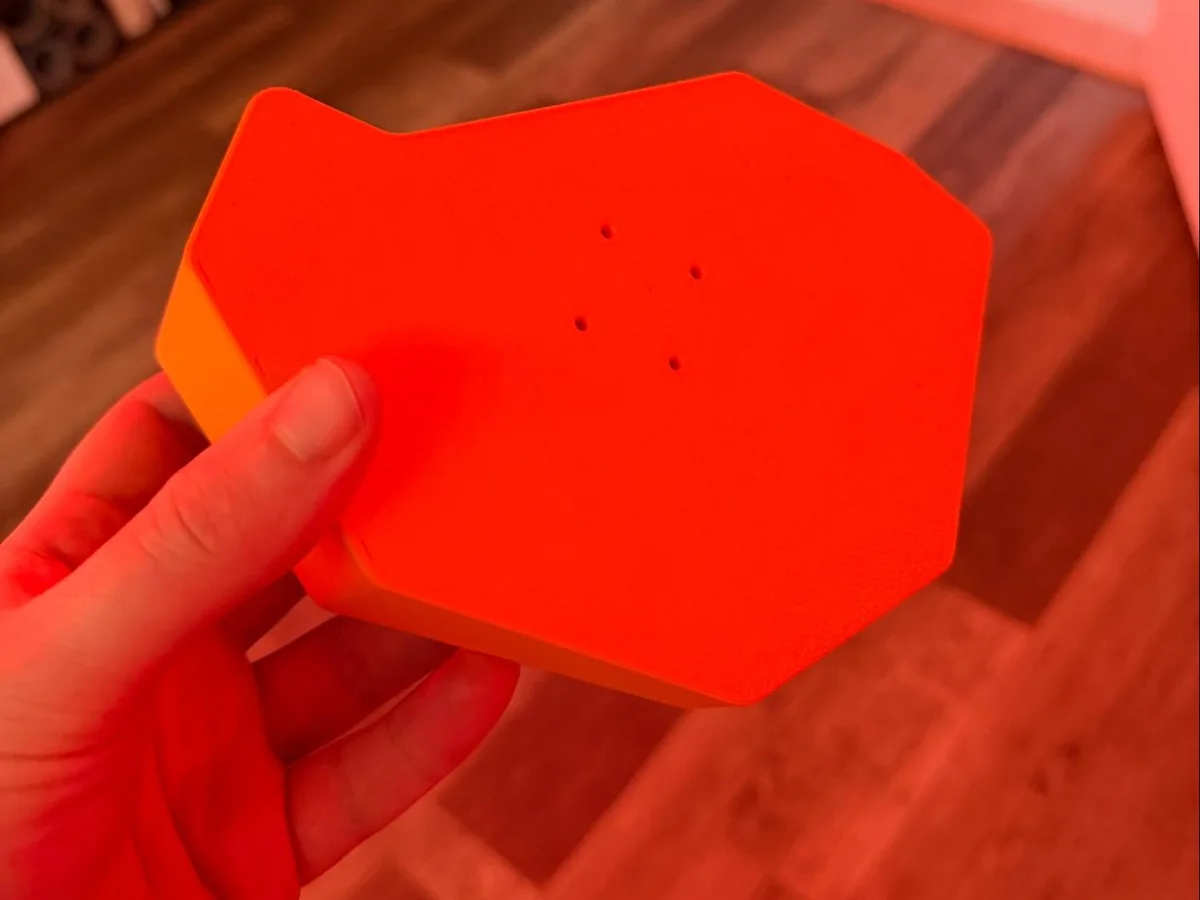
What I Learned About Prompting 3D Designs
The first thing I learned is that this is actually possible. I wasn’t convinced before I started. I’d tried using LLMs to write OpenSCAD in the recent past, and they’d mostly failed or produced unusable geometry. In this project, GPT-6 took a rough design and turned it into usable OpenSCAD code and something I could print.
As should be obvious, the LLM is good at following instructions. Sometimes a little too good. So maybe spend a little more time thinking through the actual design before handing it off to an LLM. I’m sure that seems obvious, but in my excitement and haste, I didn’t think enough about how the platform needed to work before handing it to GPT-6.
