How to Create a Looping Lofi Animation Scene
I have been listening to the Lofi Girl YouTube channel/playlist regularly for quite some time now. Since the channel started, many other channels have been popping up, and most tend to use some form of subtle anime inspired loop as their video background while they play music.
This weekend, I was inspired to try my hand at recreating the Lofi animation style, and it was quite a rabbit hole. So, I thought I would create this write-up to help other people looking to recreate this animation style.
Clean Up Your Base Image
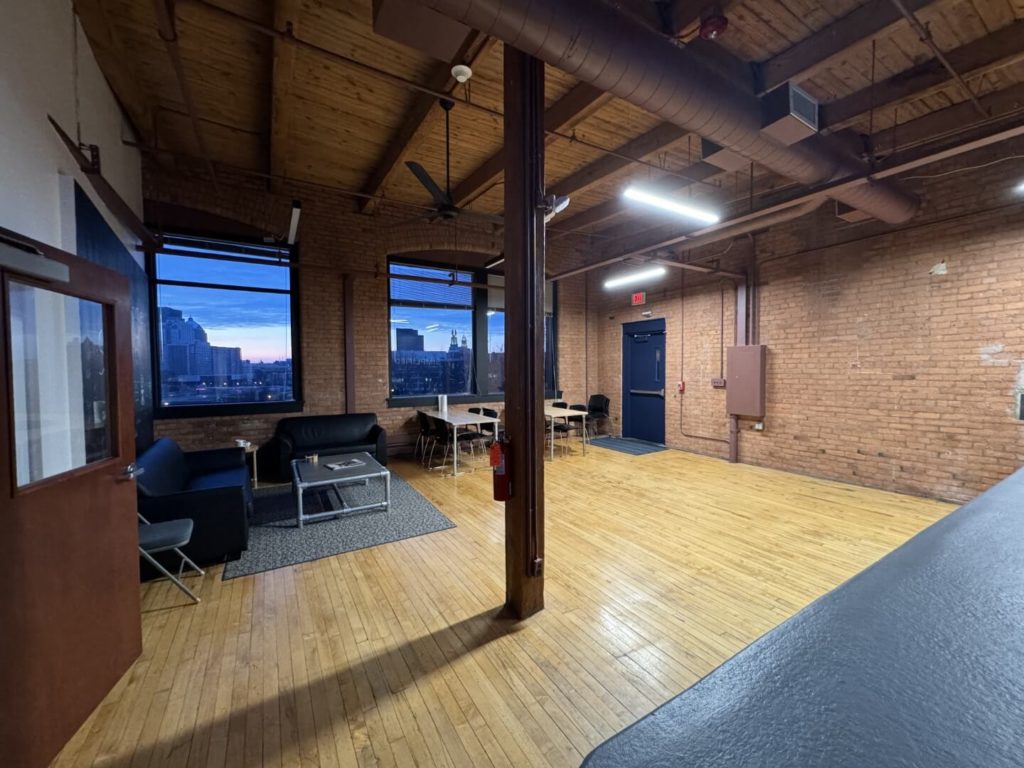
I could have started by creating an image with Stable Diffusion from scratch, but I thought it would be more fun to start with an image of our office lobby.
If you’re starting with your own image, here are a few tips to make the AI part of this process a bit easier:
- Remove any objects that cover or obscure things.
- Remove any partial objects. The models tend to struggle with objects that are not clearly in view.
- Remove smaller objects or anything you don’t want to be accentuated by the model. For example, the carpet next to the door in the right corner really threw the model for a loop.
Adding Furniture and Small Details in Photoshop
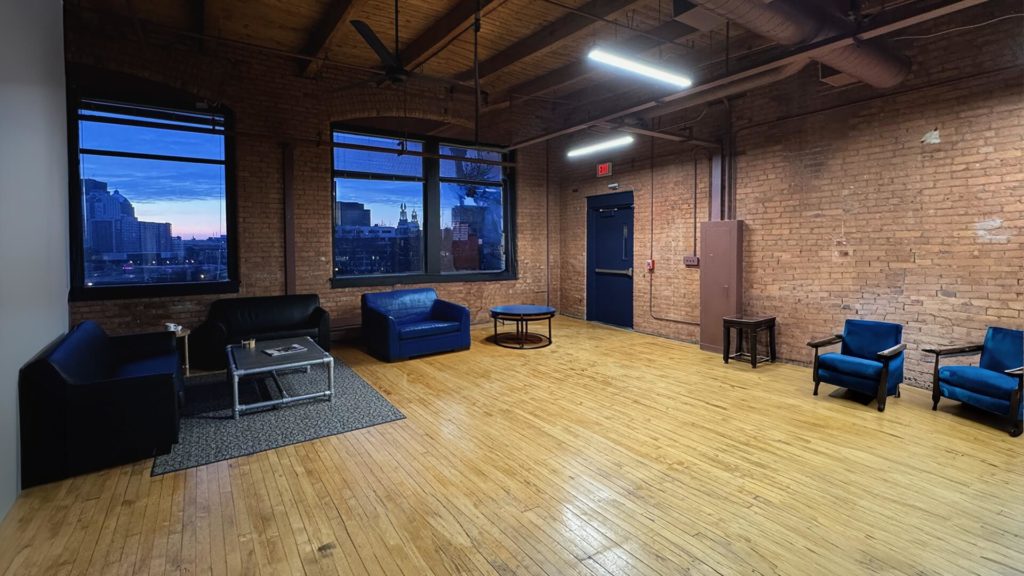
I wanted our lobby to have more of a coffee-shop feel, so I added some furniture using Photoshop’s generative fill. The objects don’t have to match the real ones perfectly. As long as they exist, the model will usually match the style and colors of the objects in the next step for you.
Transforming Your Image Using Stable Diffusion WebUI
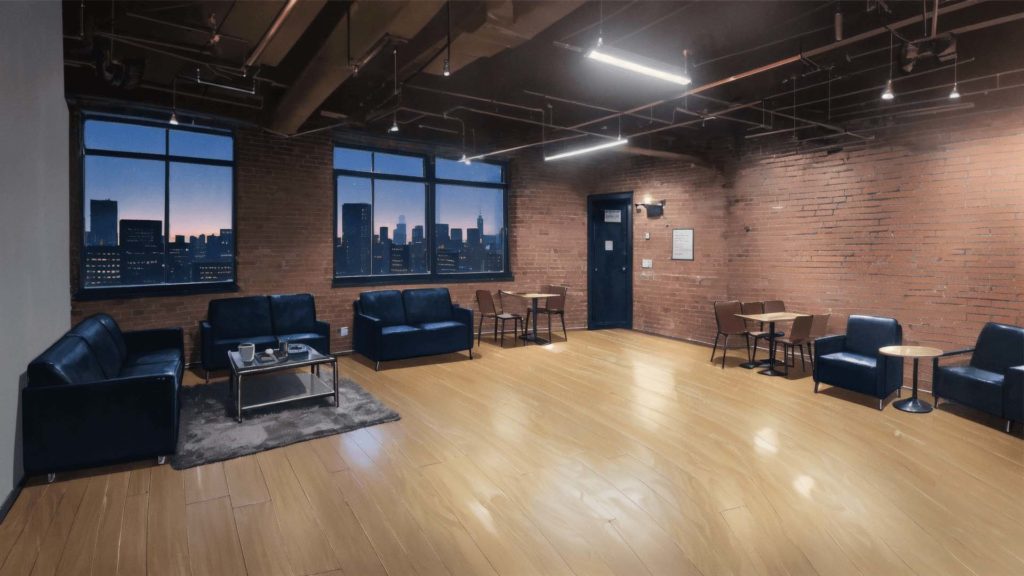
There are many different ways to stylize your image. I chose to use a Stable Diffusion model that runs locally on my machine. Expect to spend a while tweaking your settings and prompts. It took me about 3 hours of tweaking to get the results I was looking for. But, if you’re really clever, you could get this right on the first try.
Here are the steps to get you started:
- Install the Stable Diffusion Web UI and follow the instructions for your specific setup in the wiki.
- Download the Cetus-Mix model and copy it to the model location as outlined in the Stable Diffusion Web UI wiki. This model gave me the best results for my particular image. YMMV.
- Once you have the Stable Diffusion Web UI installed, you’ll want to run the program and head over to the img2img tab.
- The img2img settings I used were:
- Sampling method: DPM++ 2M Karras
- Sampling steps: 40
- CFG Scale: 12
- Denoising strength: 65
- Your prompt will vary depending on your desired results and how specific you want to be. For inspiration, here were my prompt and negative prompts:
- Prompt: in the style of anime, soft light, warm light, red brick interior, medium framing, inside a coffee shop, city skyline at dusk visible through windows, dark blue couches, industrial ceiling lights, exposed ceiling, hardwood floor, coffee mugs on tables
- Negative: flowers, plants, Japanese, words, people, characters, models, faces
Refining in Photoshop
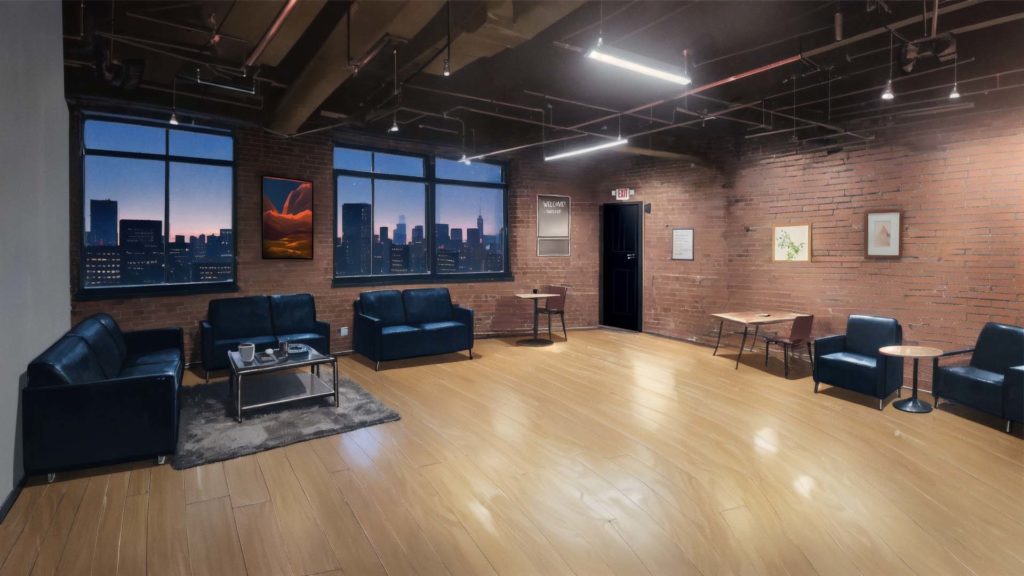
I wasn’t perfectly happy with the results straight out of Stable Diffusion, so I brought the image back into Photoshop for further refinement. Expect to spend a bit of time here. It took me about 30 minutes to tweak the image again until I was happy with it. One thing I wanted to add was a little Easter egg with our company name. I also added some wall art and fixed some of the weird furniture legs and chairs.
Animating Your Lofi Animation in After Effects
I’m no After Effects expert, but I have used the program before. If you’re completely new, I’d suggest watching this tutorial by Ben Marriott to get a good baseline.
Even though I have some experience with AE, I wanted to start with some ideas and instructions from someone with more experience. I found this video from Sonduck Film to be the inspiration I needed.
Again, expect to spend a bit of time here. I spent another hour on this step, and like most of these steps, you can take as long as your heart and strength of will allow.
To clue you in on some of the subtle animations I added, here is the complete breakdown of my process:
- Adding snow as instructed in the Sonduck Film video
- Adding a steam effect to the coffee mug based on SIKIPON DESIGN’s tutorial
- Turning off some of the building’s lights using a simple shape layer and animating the opacity
- Causing the fluorescent lights to flicker, following Sonduck Film’s glow instructions
- I added aerial warning lights to some of the buildings using another shape layer and animated the opacity.
The Final Result: A looping Lofi animation
After spending around 5 hours going through the steps I outlined above, I was left with this as the final product.
What I Would Do Differently
If I were to start this project over again, I’d do a few things differently.
- I’d start with a cleaner base image. I could have moved in front of the post in our lobby and gotten a cleaner shot. I didn’t actually know I’d be using this image for this purpose, so I just used what I had on hand.
- I would pick an image from Stable Diffusion that has a completely straight floor. Those cattywampus floorboards are really bugging me, but I’m in too deep to go back at this point.
- I’d spend a little more time tweaking the furniture.
I hope this tutorial was useful to you. If you have any questions or thoughts, contact me on X @ethan_thompson.